Photograph Northern Lights: Tips & Techniques

Get the perfect shot of the Northern Lights. Tips for photographing Aurora Borealis.

Welcome to our guide on how to photograph the Northern Lights! The Northern Lights, also known as Aurora Borealis, are a natural phenomenon that is truly a sight to behold. Capturing the beauty of the Northern Lights in a photograph can be a challenging but rewarding experience. In this guide, we will provide you with tips and techniques for photographing Aurora Borealis so that you can get the perfect shot. Whether you are a beginner or an experienced photographer, our tips will help you capture the magic of the Northern Lights. So let's get started and learn how to photograph the Northern Lights!

The Northern Lights in the winter sky.

Go directly to:

Listen to the article

Equipment and Camera Settings

Equipment:

Camera

Any DSLR or mirrorless camera with manual controls will work for photographing the Northern Lights. A full-frame camera is preferred, as it has a larger sensor and can capture more light, but a crop-sensor camera will also work.

Lens

A wide-angle lens is essential for capturing the entire scene of the Northern Lights. A lens with a focal length of 16-35mm is a good choice. If you have a crop-sensor camera, you will need a wider lens, such as a 10-20mm.

Tripod

A sturdy tripod is necessary to keep your camera steady and avoid blurry photos. The Northern Lights can be faint and require long exposures, so a tripod is essential to avoid camera shake.

Remote shutter release

A remote shutter release, such as a wired or wireless trigger, can be helpful for avoiding camera shake when pressing the shutter button. It can also be useful for taking multiple exposures without having to touch the camera.

Camera Settings:

ISO

Set your ISO to the lowest possible setting that will still allow you to get a properly exposed photograph. The Northern Lights are faint, so you will need to use a longer exposure to capture enough light. A higher ISO will create more noise in the photograph, so it's best to keep it as low as possible.

Aperture

Set your aperture to the widest setting possible, such as f/2.8 or f/4. This will allow more light into the camera and help you get a properly exposed photograph.

Shutter speed

At first, set your shutter speed to around 10 seconds, and go lower if needed to get more detail of the Northern Lights. A longer exposure will allow you to capture more light but less detail. The Northern Lights can move quickly, so you may need to experiment with different shutter speeds to find the right balance between capturing enough light and avoiding blur.

White balance

Set your white balance to "Cloudy" or "Shade" to give your photographs a warm, natural look. You can also set it to "Auto" and adjust it in post-processing if needed.

Location and Timing

Location

The Northern Lights are most commonly seen in the polar regions, specifically in the Northern Hemisphere in countries such as Norway, Sweden, Finland, Canada, and Alaska.

Consider the direction and intensity of the aurora activity when choosing a location. The Northern Lights tend to be most visible in the Northern sky, but they can also appear in other directions. You can check websites and apps that provide real-time aurora forecasts to see where and when the Northern Lights are likely to be visible.

The best places to see the Northern Lights are typically away from city lights, where the sky is dark and clear. Look for locations with little light pollution and a high probability of clear skies.

Timing

The Northern Lights are most visible during the winter months, when the nights are longer and the skies are clearer. In the Northern Hemisphere, the best time to see the Northern Lights is typically from September to April.

The Northern Lights are also most visible around the equinoxes, when the days and nights are equal in length. This means that you have a higher chance of seeing the Northern Lights around September 21st (autumnal equinox) and March 20th (vernal equinox).

The Northern Lights are visible any time when dark. Keep in mind that the Northern Lights are a natural phenomenon and cannot be predicted with absolute certainty, so it's always a good idea to be patient and keep an eye on the sky.

The app Hello Aurora predicts when and where the Northen Lights will show up in the sky. You can download it for both iPhone and Android.

Composition and Lighting

The Northern Lights are a stunning and dynamic subject, so it's important to think about how you want to compose your shots.

  • Consider the direction and intensity of the aurora activity when deciding on your composition. The Northern Lights are often most visible in the Northern sky, but they can also appear in other directions.
  • Include elements in the foreground to add depth and interest to your shots. Landscapes, trees, and other natural elements can make for great foreground subjects.
  • Experiment with different focal lengths and perspectives to find the composition that works best for your shot. A wide-angle lens will allow you to capture more of the scene, while a telephoto lens will allow you to zoom in on a specific part of the aurora.


Properly exposing and balancing the light in your shots is key to getting great photographs of the Northern Lights.


  • Use a low ISO and wide aperture to allow as much light into the camera as possible.
  • Use a longer shutter speed to capture more light from the aurora. Be mindful of the movement of the aurora and adjust your shutter speed accordingly to avoid blur.
  • Use the histogram on your camera to check the exposure and make adjustments if needed. It's better to slightly underexpose the photograph and bring up the shadows in post-processing than to overexpose and lose detail in the highlights.
  • Consider using a flashlight or other light source to illuminate the foreground elements and add depth to your shots. Be mindful of the intensity and direction of the light to avoid over or underexposing the photograph.


By following these composition and lighting tips, you will be able to capture beautiful and well-exposed photographs of the Northern Lights. Don't be afraid to experiment and try different settings and compositions to find what works best for your specific shot.
 

Post-Processing and Editing

Post-processing and editing can be an important step in creating the final photograph of the Northern Lights. Here are a few techniques you can use to enhance your photographs:

Adjust the white balance

The Northern Lights can appear differently in photographs depending on the white balance setting on your camera. Adjusting the white balance in post-processing can help you achieve the look you want. If you shot in "Auto" white balance, you can use the white balance tool in your editing software to adjust the color temperature and tint.

Increase the contrast

The Northern Lights can appear faint and washed out in photographs, especially if you had to use a high ISO to capture enough light. Increasing the contrast can help bring out the details and colors in the aurora.

Adjust the saturation

The Northern Lights are known for their vibrant colors, so you may want to increase the saturation to bring out the hues in your photograph. Be mindful not to oversaturate the photograph, as it can look unnatural.

Remove noise

If you had to use a high ISO to capture the Northern Lights, your photograph may have noise, which can be distracting and reduce the overall quality of the image. Use noise reduction tools in your editing software to remove noise and smooth out the image.

Add a vignette

A vignette is a darkening of the edges of the photograph, which can help draw the viewer's attention to the center of the frame and the Northern Lights. Use a vignette tool in your editing software to add a subtle vignette to your photograph.

Adjust highlights and shadows

The Northern Lights can be a high-contrast subject, with bright areas of light and dark areas of shadow. Adjusting the highlights and shadows in post-processing can help bring out the details and texture in the aurora. Use the highlight and shadow sliders in your editing software to adjust the overall contrast of the photograph and bring out the details in the highlights and shadows.

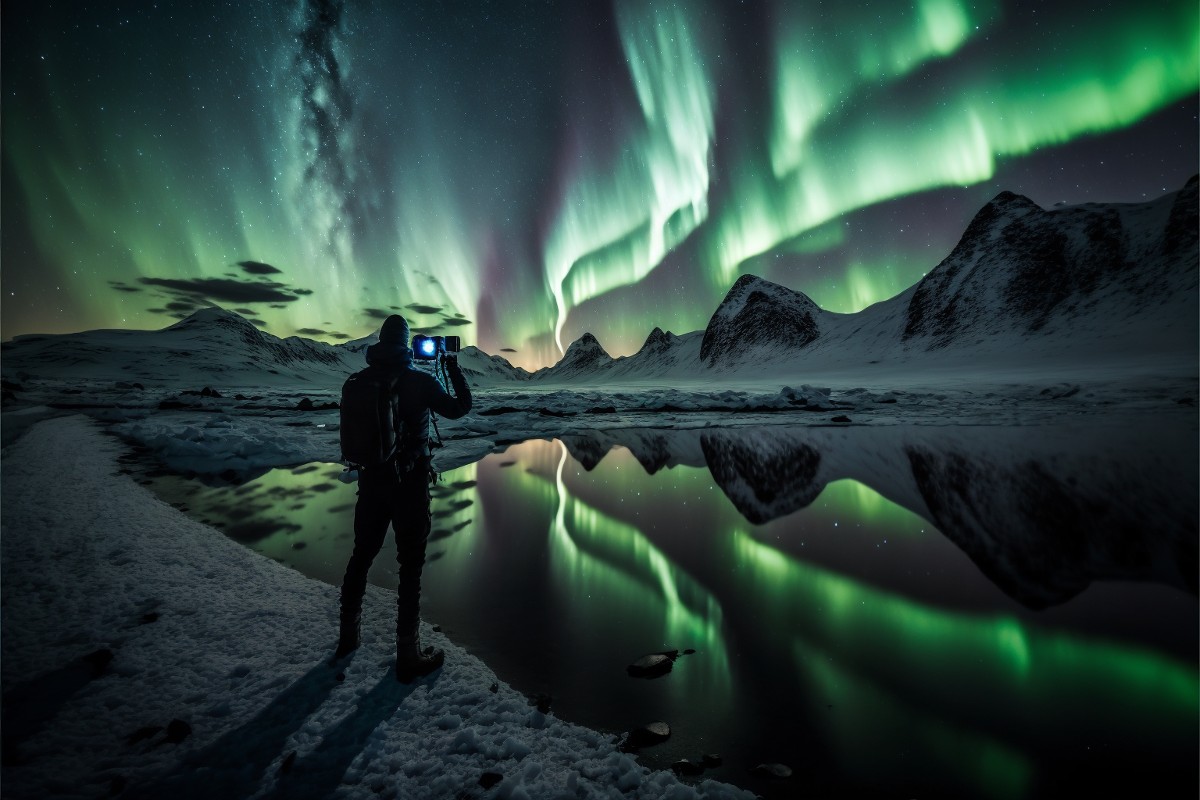
A man photographing the Northern Lights.

What if I only have a smartphone?

While a DSLR or mirrorless camera with manual controls is generally the best choice for photographing the Northern Lights, it is possible to capture good shots with a smartphone as well. Here are a few tips for photographing the Northern Lights with a smartphone:

Use a tripod: A tripod is essential to keep your smartphone steady and avoid blurry photographs, especially when shooting in low light conditions. You can use a smartphone tripod adapter or a traditional tripod with a smartphone holder. If you don't have a tripod at hand, you can try using a stable surface such as a table, wall, or rock to prop your smartphone on. You can also try using a self-timer or a remote shutter release to minimize camera shake. Keep in mind that using a tripod or other stable support will give you the best results, but these alternative options can be helpful if you don't have a tripod available.

Use the manual camera app: Most smartphones have a manual camera app that allows you to control the ISO, aperture, and shutter speed. Use the manual camera app to set a low ISO and wide aperture, and experiment with different shutter speeds to find the right balance between capturing enough light and avoiding blur.

Turn off the flash: The flash on your smartphone is not powerful enough to light up the Northern Lights, and it will only wash out the photograph. Turn off the flash and rely on the ambient light of the aurora to properly expose your photograph.

Edit the photograph: Use a photo editing app to adjust the white balance, contrast, saturation, and highlights and shadows to enhance the final photograph. Be mindful not to oversaturate or overprocess the photograph, as it can look unnatural.

Take multiple shots and stack them: To reduce noise and increase the dynamic range of your photograph, you can take multiple shots of the Northern Lights at different exposures and stack them in post-processing. Use the manual camera app to set a range of exposures, from underexposed to overexposed, and take multiple shots of the same scene. Then, use a photo stacking software or app to combine the shots and create a single photograph with reduced noise and increased dynamic range. This technique is called "exposure stacking" and can help you capture more detail and color in the aurora.

By following these tips, you should be able to capture good shots of the Northern Lights with your smartphone. Don't be afraid to experiment and try different settings.

Recommended camera setting when taking a photo of the Northern Lights

Keep in mind that these are just general recommendations, and you may need to adjust your settings depending on the specific conditions you're shooting in. The best way to find the perfect settings for your camera is to experiment and see what works best for you.

It's also important to note that the Northern Lights can be quite unpredictable, and they can change rapidly in intensity and sometimes color. This means that it's often a good idea to take a series of photos with different settings to ensure that you get the best possible shot.


3200

f/2.8-f/4

10 seconds

Auto (though you can experiment with different white balance settings in post-processing to see what looks best)